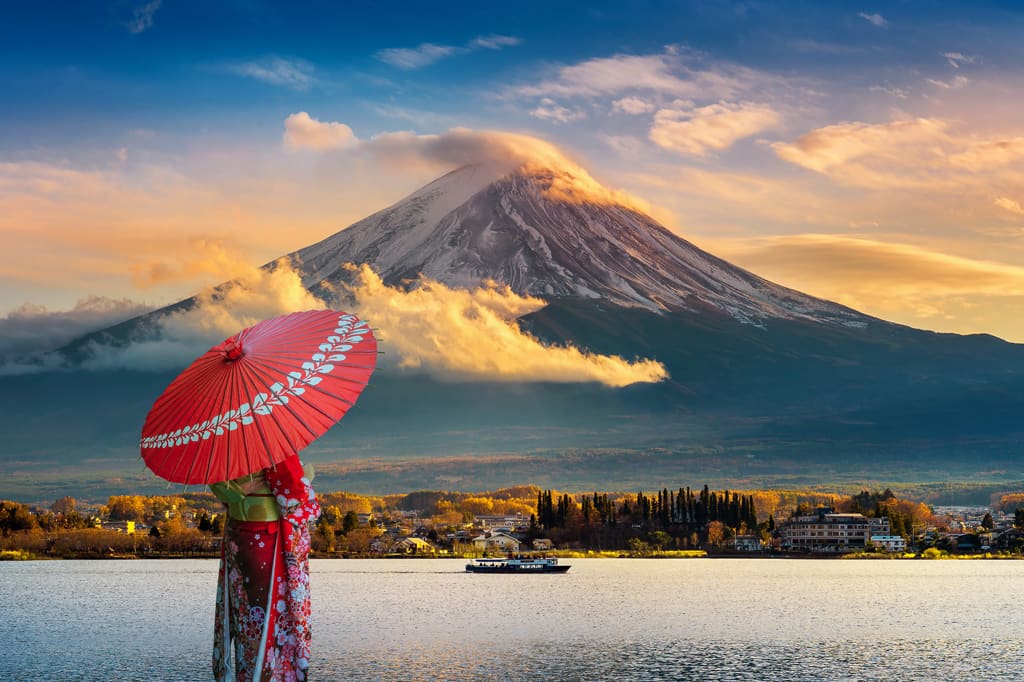
Kawaguchiko is one of the most popular day trips from Tokyo to see Mt. Fuji up-close and personal. It is also the most popular lake among the Fuji Five Lakes. This is because it has a more developed infrastructure and buses here run year-round.
If you’re planning on exploring Kawaguchiko on your own, READ our Kawaguchiko day trip itinerary ideas and read our recommended hotels to stay in Kawaguchiko. Aside from Kawaguchiko, you may also consider climbing Mt. Fuji if you’re visiting in summer.
A few options exist to get you from Tokyo to Kawaguchiko:
- By joining a day trip tour;
- By your own (using bus, train, or car).
1. By Joining A Day Trip Tour
For those of you looking for a hassle-free day-trip, the best option is to book a full-day tour package from Tokyo to Kawaguchiko. We’ve laid out all the available 1-day tours from Tokyo to Kawaguchiko from licensed tour operators in Japan. You just have to figure out the most suitable Kawaguchiko day tour for you. Note that most tours depart from Shinjuku, Tokyo.
Compare Kawaguchiko Day Trip Tours From Tokyo
Tour Highlights:
- Mt. Fuji 5th Station
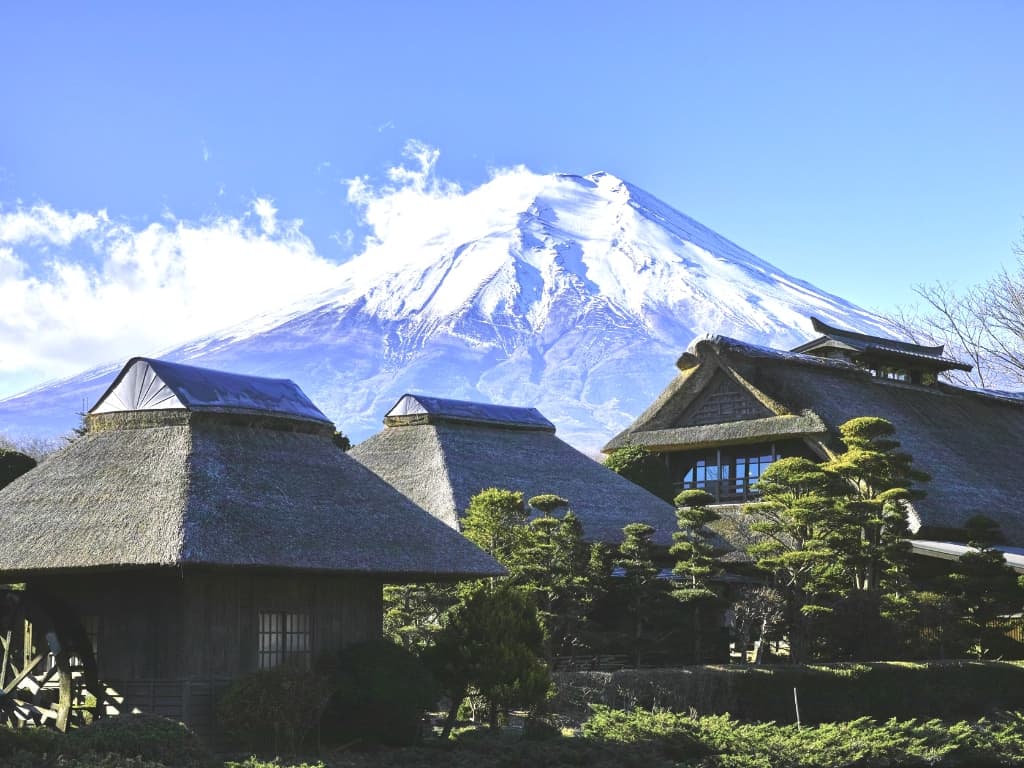
- Oshino Hakkai
- Oshino Ninja Village
- Lake Kawaguchi
Tour Highlights:
- Mt. Fuji 5th Station
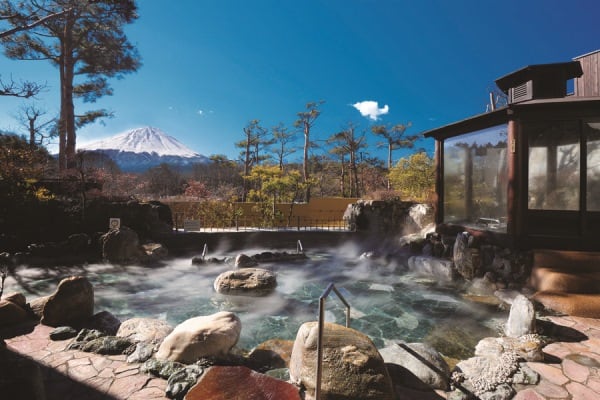
- Onsen (Japanese bath) experience
- Lake Kawaguchi
- Gotemba Premium Outlet shopping
Tour Highlights:
- Mt. Fuji 5th Station
- Lake Kawaguchi
- Gotemba Premium Outlet
- Private Tour
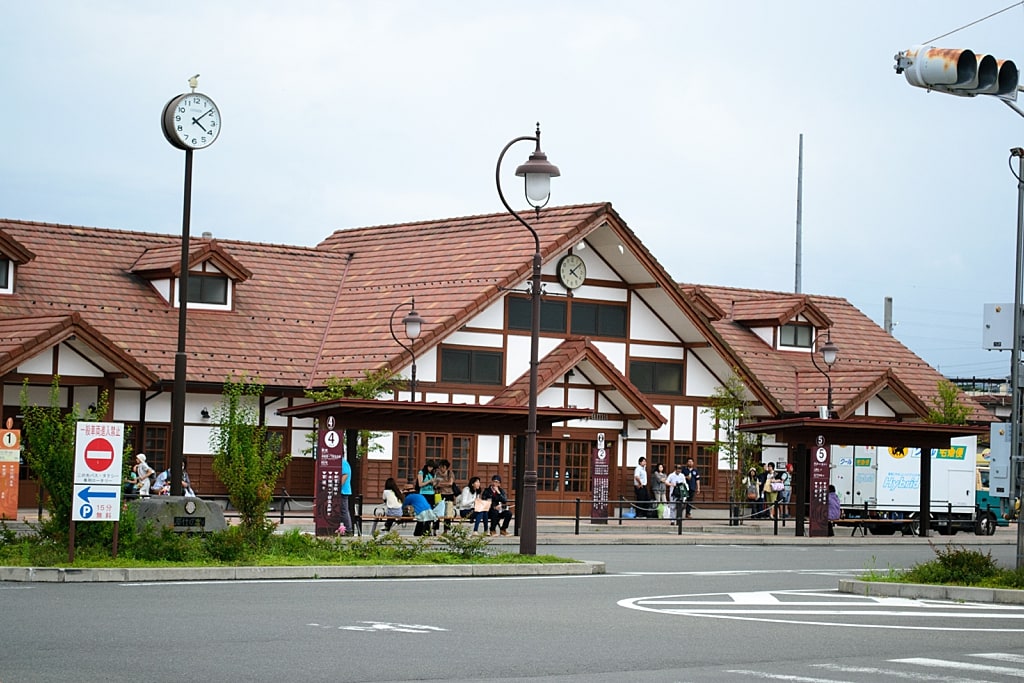
2. By Fuji Excursion Limited Express Train
Fare: ¥4,130 per person (with seat reservation)
Travel Time: 1 hr and 52 min
The new Fuji Excursion Limited Express Train also known as “Fuji Kaiyuu” now departs from Shinjuku Station directly to Kawaguchiko Station and back without any transfers.
Bound for Kawaguchiko Station
| Train | Shinjuku | Kawaguchiko |
|---|---|---|
| Fuji Excursion 1 | 08:30 | 10:22 |
| Fuji Excursion 3 | 09:30 | 11:22 |
| Fuji Excursion 93 | 11:32 | 13:35 |
Bound for Shinjuku Station
| Train | Kawaguchiko | Shinjuku |
|---|---|---|
| Fuji Excursion 90 | 14:03 | 16:03 |
| Fuji Excursion 16 | 15:05 | 16:58 |
| Fuji Excursion 20 | 17:38 | 19:27 |
If you have a JR Pass, you will pay a separate fee upon getting off the train. That’s because the railway from Otsuki Station to Kawaguchiko Station that the Fuji Excursion Train used is not JR.
IMPORTANT: If you miss the scheduled trains, take a bus instead (see below). Don’t attempt to ride the other Fuji Excursion Trains outside of the hours mentioned above. Those trains will make a stop at Otsuki Station for 30 minutes! So taking the bus is going to be faster at that point in time.
3. By Bus
Fare: ¥1,750 – ¥2,100 per person
Travel Time: 2 hrs
Now, if you missed the Fuji Excursion Limited Express Trains, taking the bus is your next option. Buses from Tokyo to Kawaguchiko are reliable. There are several bus companies that run to Kawaguchiko from Tokyo, and they all offer the same price. The average fare from Tokyo to Kawaguchiko is around ¥1,750 – ¥2,100 per person one-way and takes about 2 hours.
Tokyo Bus Terminal to Kawaguchiko Station
Depending on which area you are staying in Tokyo, you can take the direct bus to Kawaguchiko Station from:
- Tokyo Station (Yaesu South Exit)
- Shinjuku Station (Shinjuku Expressway Bus Terminal)
- Shibuya Station (Shibuya Expressway Bus Terminal)
I recommend taking the bus from Shinjuku Station or Tokyo Station as their bus terminals are the easiest to find.
Bus from Tokyo Station to Kawaguchiko Station
From Tokyo Station, follow the Yaesu South Exit signs. At the exit, turn right to go to the Bus Expressway Terminal. There is always a bus stop staff around. So, if you are confused, don’t be afraid to ask where to depart for Kawaguchiko Station.
Bus from Shinjuku Station to Kawaguchiko Station
From Shinjuku Station, follow the signs towards the South Exit or New South Exit. Then follow signs towards Shinjuku Expressway Bus Terminal. From there, you can purchase your bus tickets at the automatic ticket machines or manned ticket office.
Bus from Shibuya Station to Kawaguchiko Station
From Shibuya Station, look for signs towards Tamagawa Exit, which is near the KEIO Line ticket gates. From Tamagawa Exit look for the escalator going up to Shibuya Mark City’s 3rd floor. Then take another escalator up to reach the 4th floor. Follow the signs to Avenue Exit where you can see signs towards the 5th floor, and that’s where you’ll find the bus terminal.
WEE NOTE: It’s worth mentioning that although it is a 2-hour ride to Kawaguchiko, buses will not stop anywhere for pee breaks. It is an uninterrupted ride. But this is because all buses that leave from Tokyo to Kawaguchiko are all equipped with a toilet.
How to Book Bus Tickets Online
Be sure to make advance bookings if you plan to travel during peak seasons. Depending on the bus company, bus prices may also shoot up to ¥3,600 from the regular price of ¥1,750.
Option 1: Kosoku Bus. I recommend Kosokubus.com to book your bus tickets as they are the cheapest highway bus company. The significant advantage here is that you can book your tickets up to 2 months in advance, to better prepare your Japan travel itinerary. Kosoku Bus bound for Kawaguchiko only departs from Shibuya Station, however.
Option 2: Highway-Buses.jp. This website is a KEIO Bus company website. Their buses to Kawaguchiko depart from both Shinjuku and Shibuya Expressway Bus Terminals.
4. By Car (Self-Drive)
Car Rental Price: Starts from ¥4,000 per day
Travel Time: 1 hr 20 min (depending on the traffic)
For those of you visiting with international drivers’ licenses, or expats who also own vehicles, renting a car could be the right option for you, too.
Why Self-Drive Around Kawaguchiko
1. Convenience. The cities and towns around Mt. Fuji are rural (well, Japanese rural), so most people get around these places by car. Buses in Kawaguchiko, while available and a viable option, run on a schedule with 30-45 minutes to even an hour (if peak season) between them. Renting a car will not only give you the convenience to explore as many sightseeing destinations in Kawaguchiko as possible, but it will also save you a lot of time. Driving also allows you to visit off-the-beaten-path places surrounding Kawaguchiko.
2. Parking Lots are Free. Free parking is a rarity in urban Japan. So, this is a nice added bonus here.
How to Book Car Rental for Kawaguchiko
Web-Rentacar.com. Web-Rentacar is part of WBF Holdings, one of the largest travel agencies in Japan. Since they work directly with local car rental companies, they offer affordable rental options; around ¥4,000 – ¥5,000 a day. We’ve used their service before, and the process went smoothly. Schedule a pickup in Kawaguchiko Station.
Few Points to Consider When Renting a Car in Japan
- Consider renting an ETC for Toll Discounts. Tolls are something to consider while traveling on the highways, and Japan has some pretty ridiculous fees for their roads. Expect to pay between ¥3,500 – ¥4,500 in tolls one way. That said, if you’re going with a large group, then these costs can be very manageable. Fortunately, most car rentals in Japan come equipped with ETC (Electronic Toll Collector) cards for use on the highways, which allows you to skip the line at highway toll booths and you’ll get a discounted toll. The ETC will record which booths you use and will enable you to pay upon returning the car. (For reference, ETC cards are like an E-ZPass in the US).
- Do car rentals in Japan have English GPS? As for how to actually drive from Tokyo to Kawaguchiko, most rental cars should come with a reliable GPS programmable with your language of choice. But, if all else fails, Google Maps is very reliable in Japan. The GPS will also give you options on which routes have the cheapest tolls. But less expensive fees may also mean substantially longer travel times. You’ll just need to decide for yourself if saving $10 in tolls worth adding 30-60 minutes to your travel time. Describing the route without knowledge of Kanji (or your actual starting point) would take up most of the page. So, if for some reason you’re traveling without any GPS, I suggest thoroughly planning your trip beforehand, as Japanese roads don’t have street names as they do in most western countries. So you’ll likely be navigating off of a combination of landmarks and signs which are often written in Kanji and Romanji.
- Do I have to return the car with a full tank? As with any rental company, you must return the car with a full tank. Gas in Japan is quite expensive though. So, that is something else to consider. If you want to save, consider renting a car that’s fuel-efficient. Of all the options mentioned, traveling by car is your best bet if you’re looking to visit the Kawaguchiko area.
5. By Hiring a Private Driver/Tour Guide
There are now a couple of private drivers/tour guide that’s based around the area of Kawaguchiko Station. Price starts from ¥2,400 per 30 min per group and meets up at Kawaguchiko Station.
Bottom Line
As I said at this start of this article, the method of travel is really based entirely around what you’re looking to do in the area. If you’re on the cheap, the best and fastest option is by taking the 8:30 and 9:30 Fuji Excursion Trains or by joining the fully-guided Mt. Fuji day Tour.
If budget is not a concern and you want to make the most out of Mt. Fuji sightseeing, then car rental or if you don’t drive, hiring a private driver is the best option. Along with that, top with an overnight stay. If you’re looking for more information for what to actually do when you reach the Fuji area, take a look at some of our other articles, links down below!
Enjoy your trip!